How to Format SD Card or USB Drive on Chromebook (2026)
![]() by
Frank Cross
Post Updated: January 18, 2026
by
Frank Cross
Post Updated: January 18, 2026
To format an SD card or USB drive on a Chromebook, insert the drive, open the Files app (Alt + Shift + M), right-click the drive’s name in the sidebar, and select “Format device”.
From my 15 years of daily tech adventures, I’ve discovered that giving your drives a fresh format once a year significantly extends their lifespan.
In 2026, ChromeOS makes this easier than ever, but you need to choose the right file system (exFAT vs FAT32) to avoid errors later.
Format button greyed out? Contact us here or leave a comment below.

💾 How to Format Your Drive (Step-by-Step)
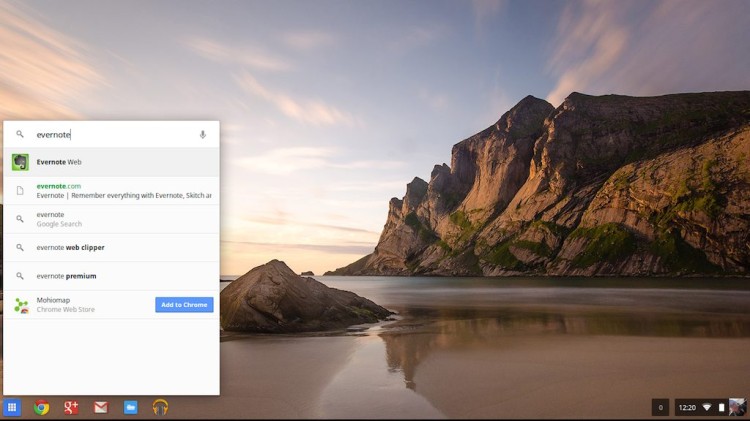
1. Insert & Open Files App
Plug your drive into the USB-A or USB-C port. Then, open the Files app.
Shortcut: Press Alt + Shift + M
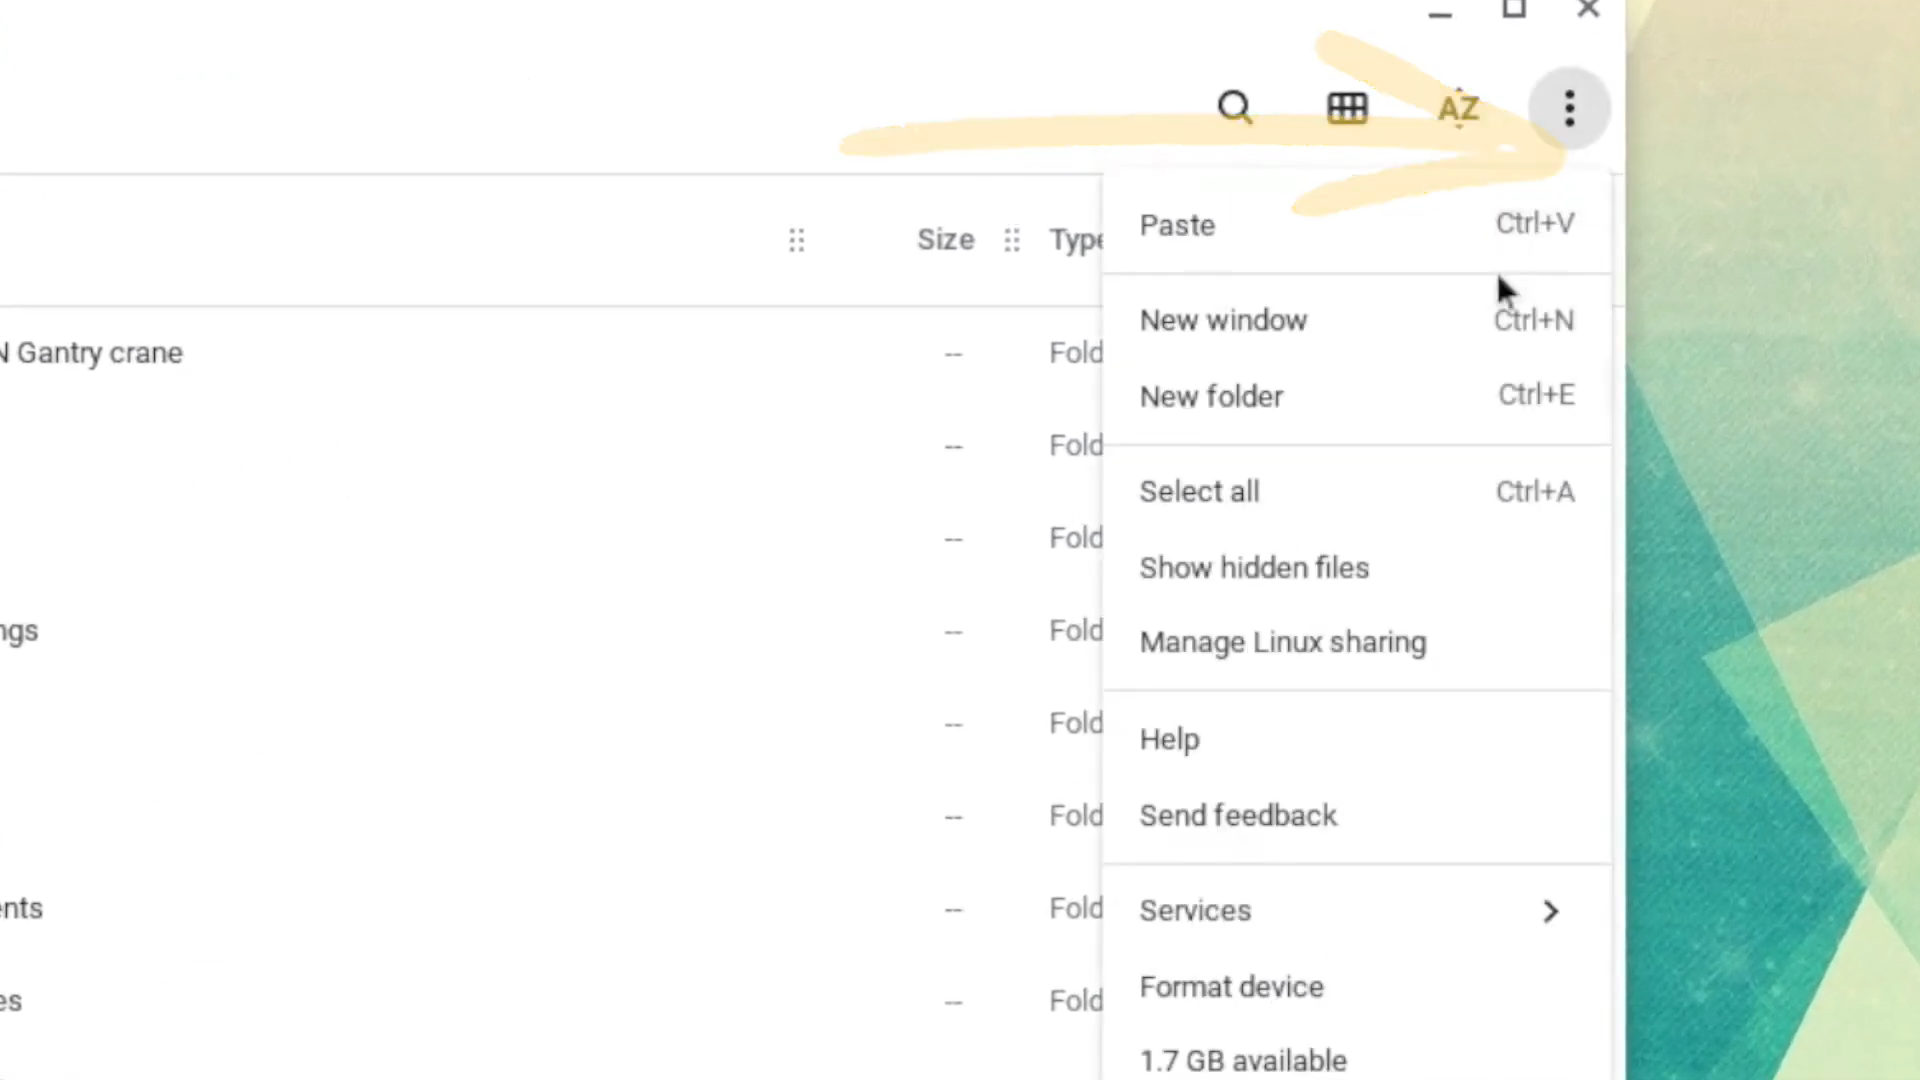
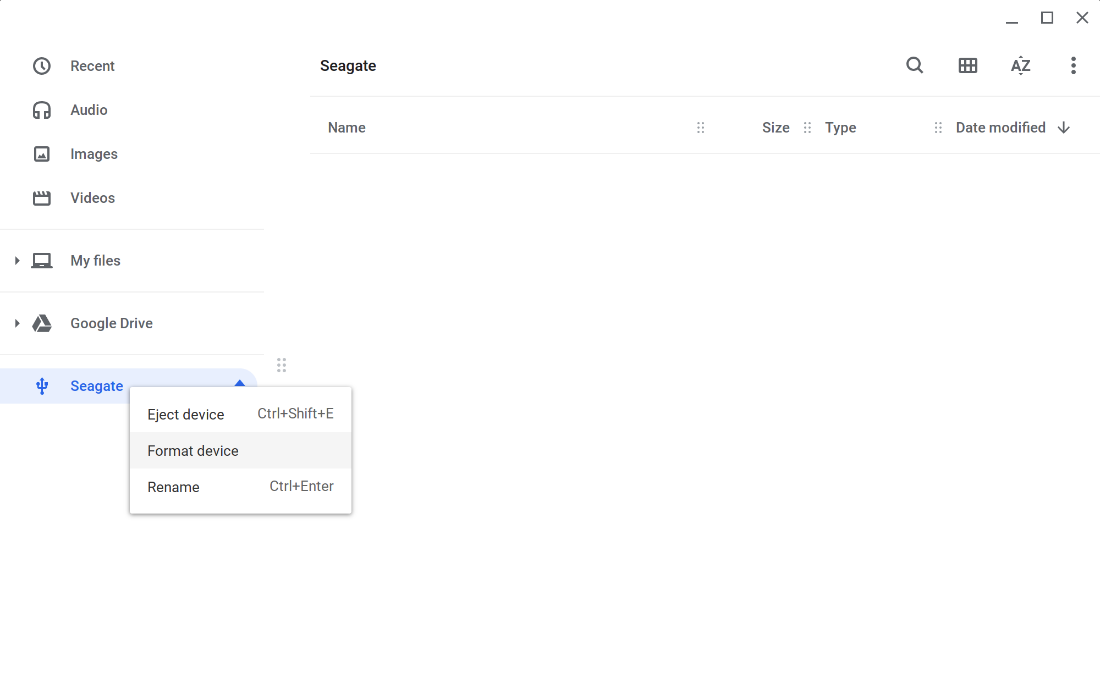
2. Right-Click to Format
Look at the left sidebar. Locate your USB Drive or SD Card (it usually appears under “Downloads”).
- Right-click (or two-finger tap) on the drive name.
- Select Format device from the menu.
3. Choose the Right File System
A popup will ask you to choose a format. This is the most important step.
exFAT (Recommended)
Best for modern storage. Handles files larger than 4GB. Works on Windows & Mac too.
FAT32 (Legacy)
Good for old car stereos or small drives. Cannot hold files larger than 4GB.
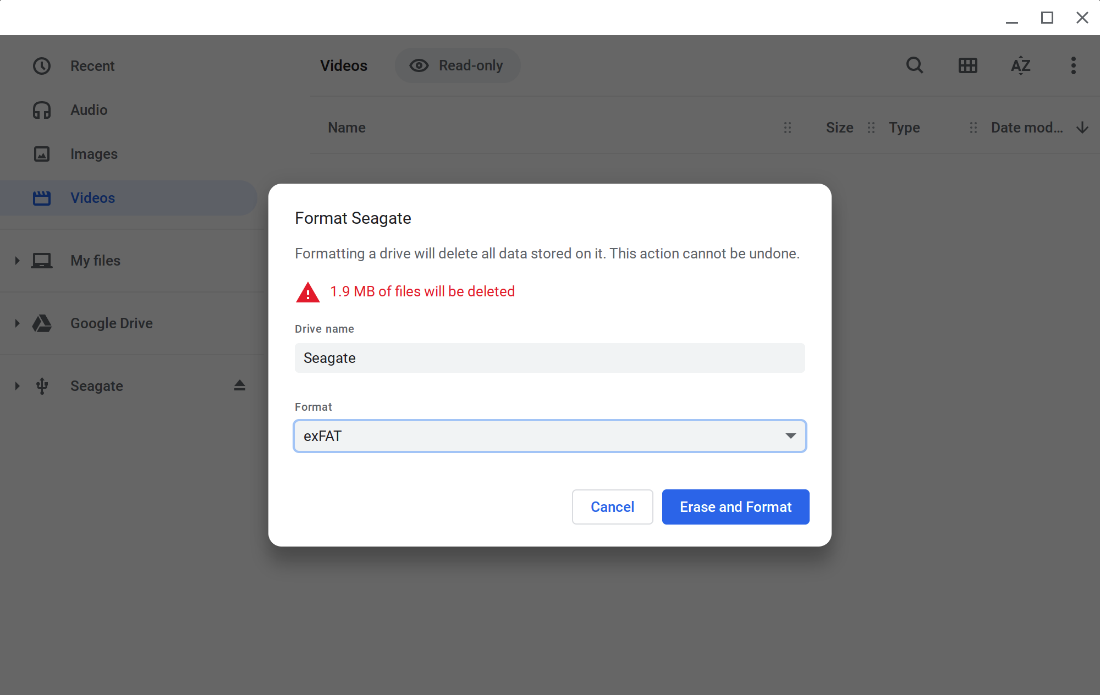
4. Confirm & Erase
⚠️ Warning: This will delete EVERYTHING on the drive.
Click Format to begin. The process usually takes 10–30 seconds. Do not unplug the drive until you see the “Formatting complete” notification.

🛠️ Help! “Formatting Failed” or Error?
If the standard method fails, your drive might have a corrupted partition (common if it was used for Linux or Raspberry Pi). Here is the secret fix used by experts:
The “Recovery Utility” Trick
- Install the Chromebook Recovery Utility extension.
- Open the extension and click the Gear icon ⚙️ (top right).
- Select “Erase recovery media”.
- Select your USB drive and click Continue > Erase now.
- This “nukes” the partition table. Now try formatting it normally in the Files app again.
🎥 Watch the Video Guide
🔗 More Chromebook Guides
- How to Connect a Printer to a Chromebook
- How to Connect to Wi-Fi on Chromebook
- How to Install Android Apps on Chromebook
Discover more from Chrome Geek
Subscribe to get the latest posts sent to your email.