How to Install and Use Vysor on Chromebook and Googlebook
 by
Juniya Sankara
Post Updated: November 3, 2026
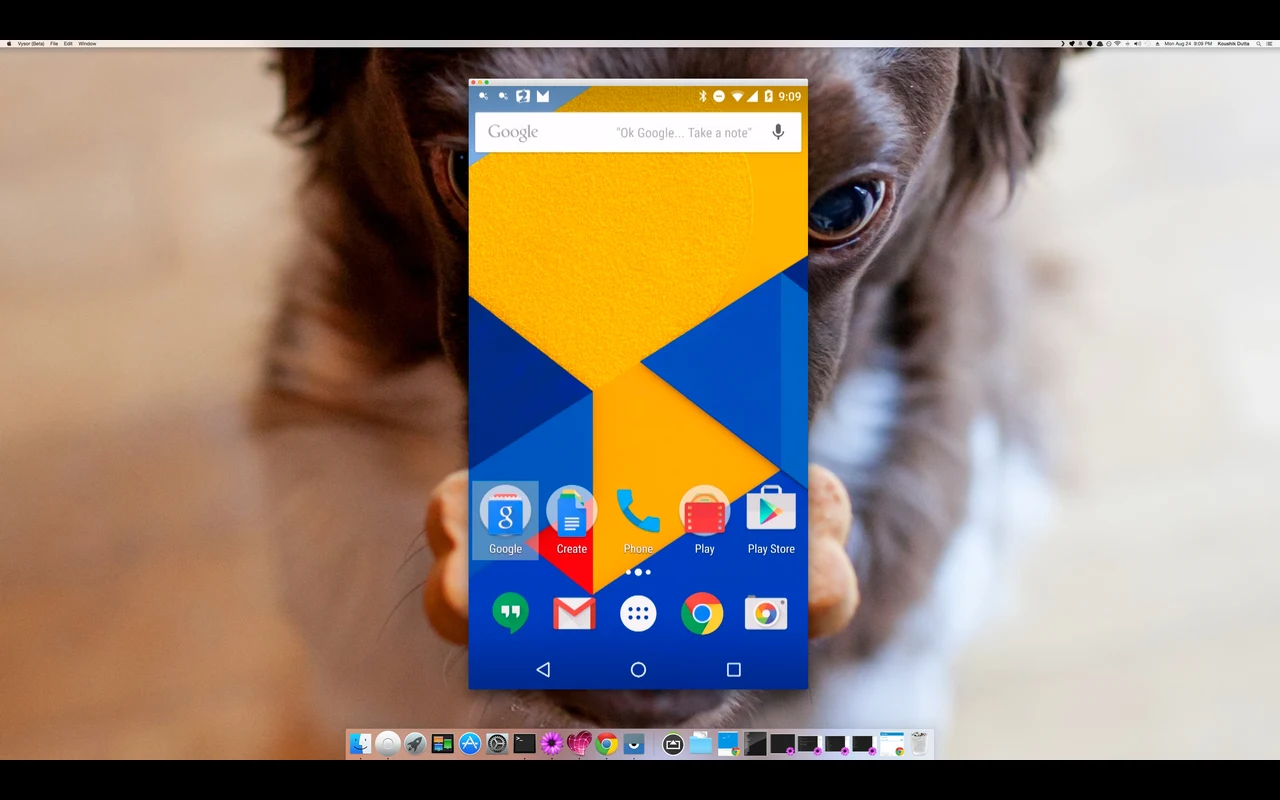
You can install and use Vysor on Chromebook and Googlebook through the official Android app from Google Play or directly via WebUSB in your Google Chrome browser. It puts your physical smartphone screen directly onto your laptop monitor, giving you complete keyboard typing, mouse navigation, wireless Wi-Fi streaming, and screen capture tools.
Googlebook runs Android applications natively through Google Play, giving you the same dependable screen mirroring tools alongside effortless phone-app casting. This comprehensive guide walks you through the Google Play installation, Chrome WebUSB setup, keyboard and mouse controls, wireless Wi-Fi mirroring, developer ADB bridging, and proven troubleshooting fixes.
Need help setting up USB debugging or wireless pairing? Contact us with your laptop model and Android version.
How to install Vysor on Chromebook and Googlebook
Installing the official Vysor application from Google Play provides quick access, device discovery, and seamless phone integration on your laptop:
For complete setup instructions, check out our official Android app setup guide for Chromebook and our companion guide on installing apps on Googlebook. Note that school or enterprise managed devices may require administrator permission to install external Google Play utilities or enable USB peripheral redirection. Alternatively, you can run the zero-install web application at app.vysor.io or install the Debian package within the ChromeOS Linux development environment.
How to connect your phone via USB and Google Chrome WebUSB
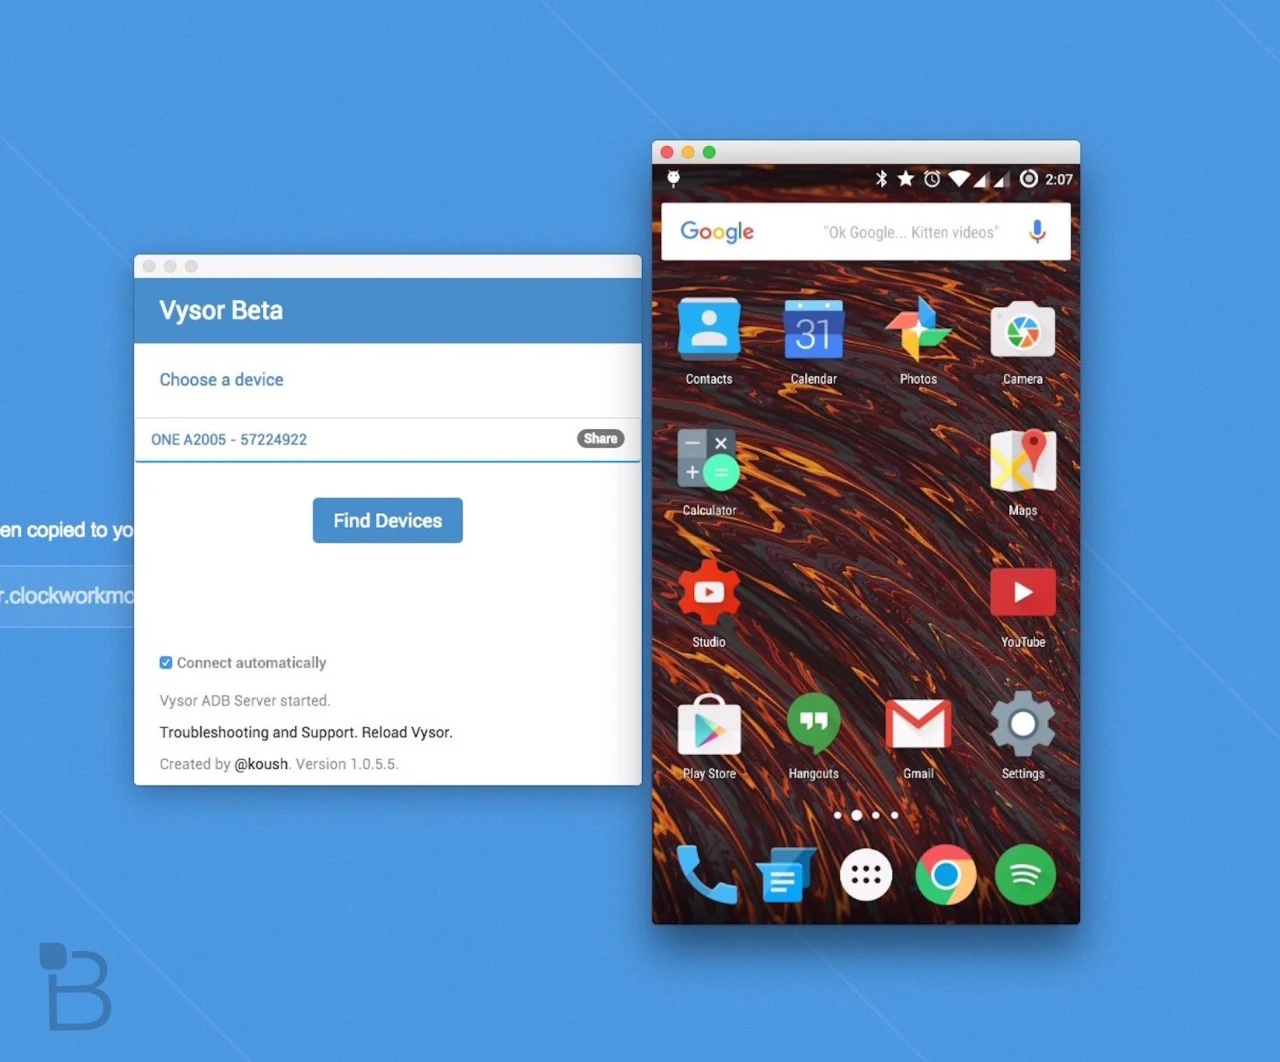
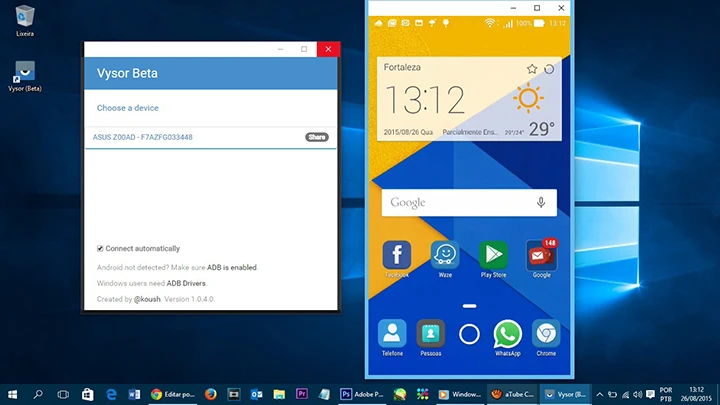
Vysor bridges your smartphone to your laptop over standard USB or Google Chrome WebUSB. Follow these quick steps to pair your device:
Cast Vysor from your phone on Googlebook
Googlebook users can also access Vysor effortlessly through native phone hub integration. Using Cast My Apps on the Googlebook taskbar, you can wirelessly stream your phone screen and app sessions directly onto your desktop workspace without transferring files, configuring cables, or running duplicate local instances.
Core features: keyboard typing, mouse control, and wireless streaming
Vysor is far more than a passive display mirror. It transforms your laptop keyboard and trackpad into native mobile input peripherals:
Vysor Free vs. Vysor Pro: feature and pricing comparison
Vysor offers both a dependable free tier for basic mirroring and a feature-rich Pro edition for professionals and developers:
Troubleshooting common Vysor issues on ChromeOS
If you encounter connection drops or display hitches, these practical troubleshooting solutions will get your mirroring back on track:
Frequently asked questions about Vysor on Chromebook
Can I use Vysor on Chromebook without installing any software?
Yes. Vysor features a zero-install web application at app.vysor.io that connects directly to your phone using Google Chrome’s native WebUSB standard. Simply enable USB debugging on your Android device, open app.vysor.io in Chrome, click Connect USB Device, and select your phone from the browser prompt to start mirroring immediately without downloading Android apps or Linux packages.
Why is my Android phone not detected by Vysor on ChromeOS?
If your phone does not appear in Vysor, ensure USB Debugging is toggled on under Android Developer Options and that you selected ‘Always allow from this computer’ on your phone screen when plugging in the cable. Also verify that your USB connection mode on your phone is set to File Transfer (MTP) or PTP rather than Charging Only, and use a high-speed data cable connected directly to your Chromebook’s USB port.
Does Vysor support iPhone and iPad mirroring on Chromebook?
Yes. Vysor supports iOS screen mirroring and control. Connect your iPhone or iPad to your Chromebook using a Lightning or USB-C cable, tap ‘Trust This Computer’ on your iOS device, and open Vysor or app.vysor.io. Vysor utilizes Apple’s native device communication protocols to project the iOS display and provide pointer navigation.
What is the difference between Vysor Free and Vysor Pro?
Vysor Free provides essential USB screen mirroring, full keyboard and mouse control, and screenshot capture. Vysor Pro unlocks wireless Wi-Fi mirroring, high-definition bitrate streaming, fullscreen mode, drag-and-drop file transfers between laptop and phone, audio mirroring, and Vysor Share for remote device access across networks.
How do I fix lagging video or black screen issues in Vysor?
Video lag or black screen rendering typically stems from hardware video decoder conflicts. In the Vysor web client or app settings, toggle the video decoder option or disable hardware acceleration under Chrome Settings > System > Use graphics acceleration when available. Additionally, ensure your laptop is plugged into power so ChromeOS does not throttle background USB streaming throughput.
Explore more remote access and utility tools for Chromebook
Looking to expand your laptop connectivity? Explore our complete setup guide to Chrome Remote Desktop on Chromebook for full PC and Mac control, discover enterprise virtual desktops in Citrix Workspace on Chromebook, and check out remote assistance options in TeamViewer on Chromebook. You can also browse our top recommendations in the best remote desktop apps for Chromebook roundup.
Discover more from Chrome Geek
Subscribe to get the latest posts sent to your email.